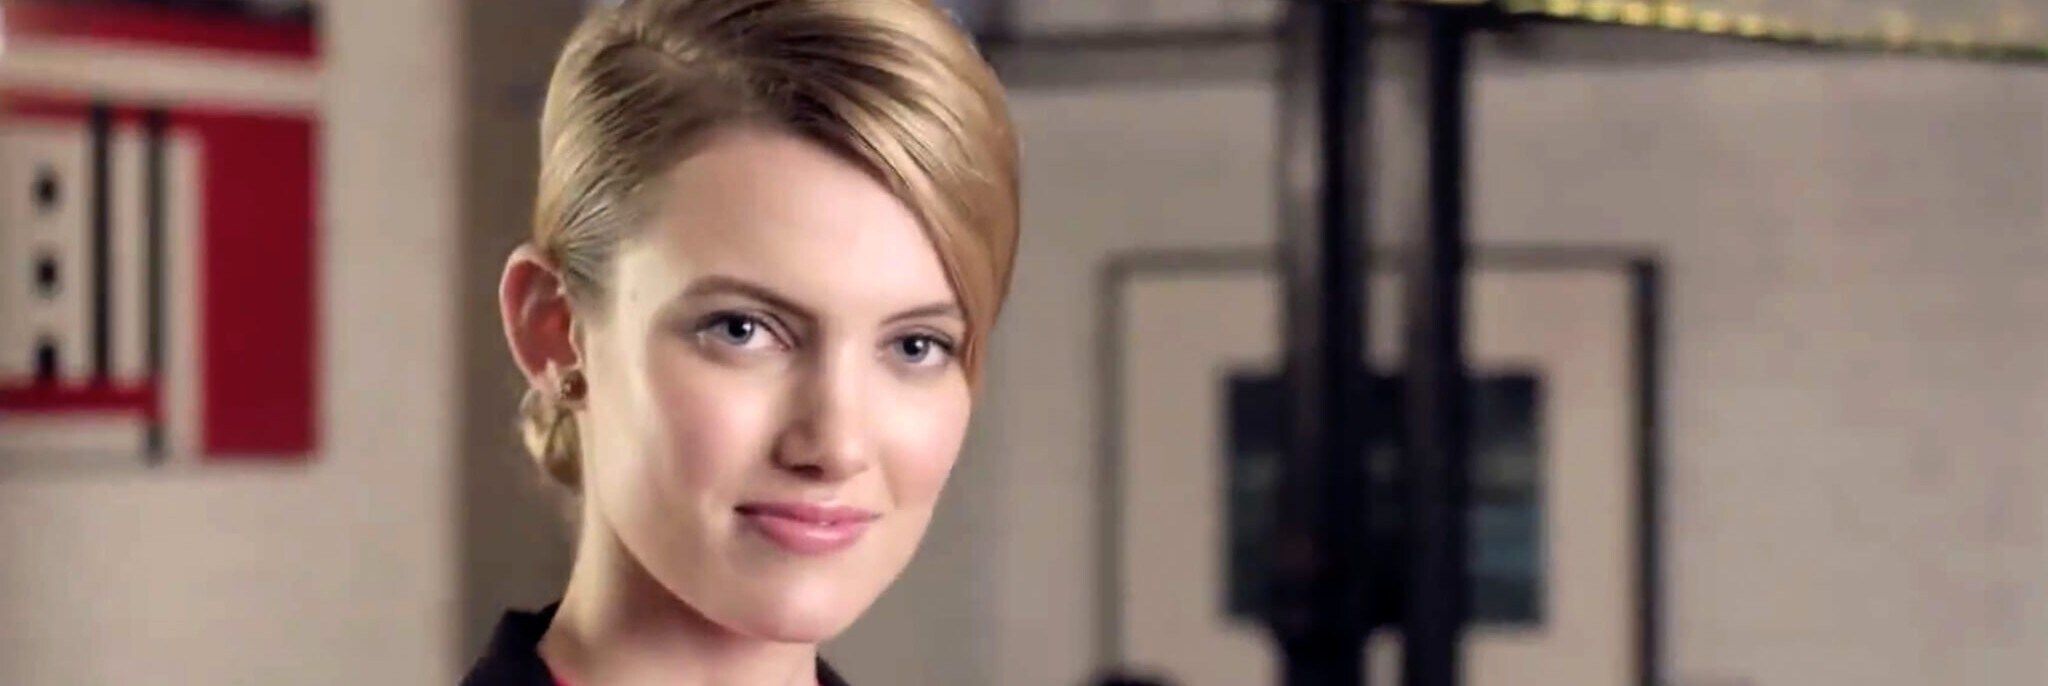
How to perfect the 60s beehive hairstyle
The beehive hairstyle is a classic 1960s look. Originally developed to slot into the hollow of a hat to avoid hat-hair, Hollywood silver screen starlets were soon piling up their long tresses for the ultimate in big hair. Today, variations of the beehive are never far from the runway.
- Step 1: Volumize
- Step 2: Boost those roots
- Step 3: The parting party
- Step 4: Blow dry
- Step 5: Back-comb
- Step 6: Sculpt and smooth

The beehive hairstyle is a classic 1960s look. Originally developed to slot into the hollow of a hat to avoid hat-hair, Hollywood silver screen starlets were soon piling up their long tresses for the ultimate in big hair. Today, variations of the beehive are never far from the runway.
But here’s the challenge: when taken to its max, the beehive can present a feat of architectural expertise, even for the most experienced of hair stylists. So, if you’re inspired by the beehive, but a little intimidated by the staggering heights achieved by the pros, never fear – there is a simpler way.
Follow these easy steps from top TRESemmé stylist Ryan Trygstad for a more understated take on the classic volumized beehive; something a little lower, easier to style, and more effortless to wear.
Step 1: Volumize
Get started by spraying damp hair with TRESemmé Pro Infusion Fluid Volume Hair Tonic Water from mid-lengths to ends, avoiding the roots, to give your hair the lift and shine you’ll need for the beehive hairstyle.
Step 2: Boost those roots
Grab your TRESemmé TRES TWO Extra Hold Mousse and apply from roots to tips and brush through to ensure even coverage. Just be careful not to overdo it with the hair mousse, especially at the roots. Start with a little and add more as needed, so you don’t end up with crispy roots.
Step 3: The parting party
The deep side part is characteristic of the beehive hairstyle,so before you blow-dry and style, set your part in place. Create a deep side part using a wide-toothed comb. If your comb has a pointed end, use this to make sure your part is straight, then comb each side to set your part in place. If you usually part your hair in the center, you may have to put some work in when blow-drying to make sure your hair sits in the right place for this style.
Step 4: Blow dry
As always, before you switch on your blow-dryer, be sure to protect your strands using TRESemmé Keratin Smooth Anti-Frizz Heat Defense Spray. This helps to avoid heat damage and will leave you with a frizz-free, smooth finish.
Use a round styling brush to blow dry your hair through, lifting from the roots with the brush as you go to inject as much volume as possible. Use the nozzle attachment of your blow-dryer to concentrate airflow onto the section you’re drying.
Step 5: Back-comb
Separate the first third of your hair, up to the crown, and pin this section out of the way while you back-comb the back two thirds.
Working in sections, back-comb your hair gently at the roots using a fine-toothed comb. Gently is the key word here; go too hard and you will end up with tangles and knots that will be a nightmare to comb out later.
Step 6: Sculpt and smooth
Keep back-combing until your hair reaches the height you want your beehive to be. Use hairspray to hold this beehive ‘skeleton’ in place. Because the beehive hairstyle is all about volume, we recommend TRESemmé Volume Hair Spray for extra hold and lift.
Once you have the shape of your beehive in place, sweep the separated front section over the back-combed section, securing neatly at the back with bobby pins.
While the back-combed sections create the shape, pulling smooth top sections over the top is what creates the style. Keep gathering and pinning. If any back-combing is still visible once you’ve pinned all your hair in place, use your fine-toothed comb to smooth down.
Bear in mind, this step may use a lot of bobby pins, so make sure you have plenty nearby!
Finish off with another hearty blast of TRESemmé Volume Hair Spray. After all, if there’s one thing (other than volume) that a beehive style needs, it’s hair spray!